
Prevent Blisters, Heel Slip & Toe Jamming on the Trail
Proper boot lacing is one of the most overlooked hiking skills. Many hikers blame their boots for discomfort when the real issue is how the laces are tied. A few simple adjustments can improve heel stability, reduce friction, relieve pressure points, and prevent toe pain on downhill sections.
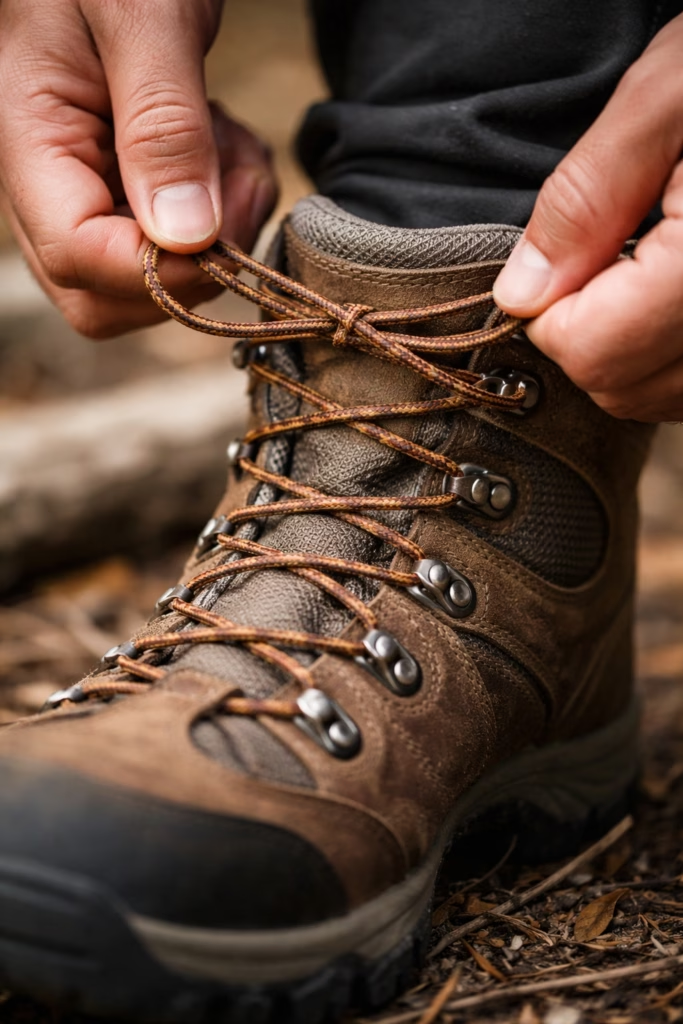
If you want more comfort on the trail, start with your laces.
Why Boot Lacing Matters
On uneven terrain, your foot naturally shifts inside your footwear. If your heel lifts or your forefoot slides forward, friction builds quickly — and that friction becomes blisters.
Correct lacing helps:
Lock your heel into the heel cup
Distribute pressure evenly
Reduce foot fatigue
Prevent toe jamming on descents
Keep laces from loosening mid-hike
Small adjustments can make a major difference.
Key Techniques for Tying Hiking Boots
1️⃣ Use a Surgeon’s Knot for Heel Lock (Boots)
When you reach the first hook just above your ankle joint:
Cross the laces as usual.
Wrap them around each other twice (instead of once).
Pull snug before moving to the next hooks.
This creates friction in the lace system and helps:
Prevent heel lift
Reduce blister risk
Increase downhill control
If you experience blisters at the back of your heel, this is often the fix.
2️⃣ Adjust Pressure with Window Lacing
If the top of your foot feels sore or numb:
Skip one cross-over section directly over the pressure point.
Run the laces straight up on each side before continuing the crisscross pattern.
This creates a “window” in the lacing system and reduces pressure without loosening the entire boot.
Use this technique for:
High insteps
Tendon irritation
Lace bite discomfort
3️⃣ Keep the Top Snug, the Toes Free
Your foot naturally swells during a hike. Downhill sections also cause your toes to slide forward.
To prevent discomfort:
Keep the upper laces snug for heel stability.
Leave the lower forefoot section slightly looser to allow toe movement.
This balance prevents:
Toe jamming
Black toenails
Forefoot numbness
The goal is secure — not tight.
4️⃣ Finish with a Proper Square Knot
A square knot keeps your laces from loosening.
How to check:
Bow loops should sit side to side, not up and down.
If the loops sit vertically, you tied a granny knot, which loosens more easily.
A stable knot means fewer mid-trail stops to retie.
Hiking Shoes vs. Hiking Boots
Boots and trail shoes require slightly different priorities.
Hiking Boots
Emphasize heel lock
Use a surgeon’s knot at ankle hooks
Secure upper laces firmly
Hiking Shoes
Focus on preventing forefoot slide
Maintain toe room for swelling
Keep pressure balanced across the midfoot
Trail runners especially benefit from careful forefoot adjustment.
Common Lacing Mistakes
Pulling everything equally tight
Ignoring heel movement
Over-tightening forefoot laces
Using a loose granny knot
Blaming the boot instead of the lacing
Most discomfort starts with lacing tension — not the boot itself.
When to Adjust on the Trail
Your lacing tension may need adjustment when:
Starting a steep climb
Beginning a long descent
After your feet warm up
When swelling increases
If numbness begins
It’s normal to make small adjustments mid-hike.
Final Thoughts: Comfort Is a Skill
Trail comfort isn’t just about buying better gear. It’s about learning how to use it properly.
Before replacing boots, try refining your lacing system. A small technique change can prevent hours of discomfort.
Tie your boots the right way — and your hike becomes smoother before you even take the first step.
Great content! Keep up the good work!
Thanks much!